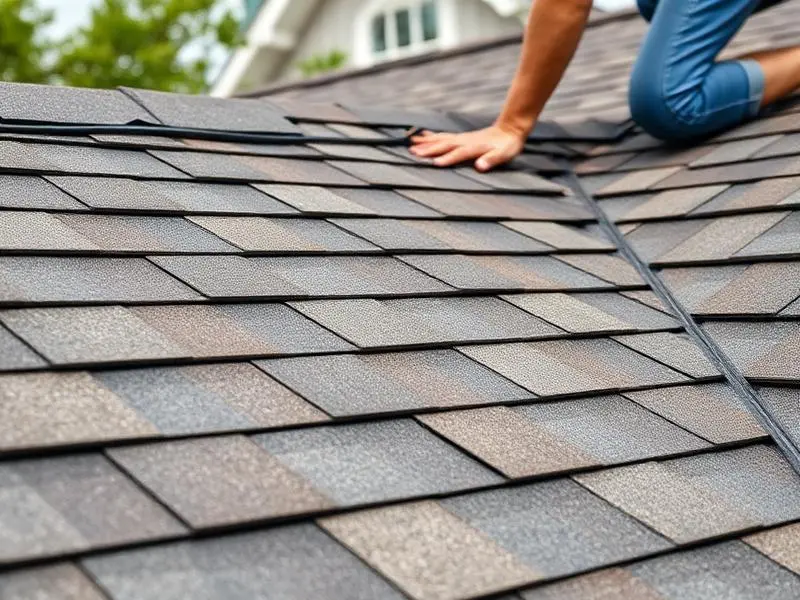
Quality Materials
We use products designed to seal, waterproof, and weatherproof your structure effectively.
Timely Service
Efficient project completion with minimal disruption to your daily routine.
Professional Work
Experienced contractors dedicated to quality installation and customer satisfaction.
Our Roofing Services
Specialized in new installations and complete roof replacements for residential properties

New Roof Installation
Complete installation of quality roofing systems designed to protect your home for years to come.

Roof Replacement
Full roof replacement services using durable materials that seal and weatherproof your structure.

Professional Consultation
Expert guidance on selecting the right roofing solution for your property and budget.
Frequently Asked Questions
Find answers to common questions about our roofing services
We serve Lakewood and the surrounding communities. Contact us to confirm whether your address is in our current service area.
We provide roof installation, full roof replacement, roof repair, leak detection, emergency tarping, roof inspections, ventilation upgrades, and gutter and flashing repair or replacement.
We perform both. If a roof is beyond economical repair we recommend and install full replacements; for isolated issues we provide targeted repairs to extend roof life.
We install asphalt shingles, architectural shingles, metal roofing, tile, cedar shakes, and flat roofing systems such as TPO and EPDM, plus associated underlayments and ventilation components.
Costs vary widely based on roof size, pitch, material, removal of the old roof, structural repairs, and local permit fees. We provide on-site or virtual estimates and a written quote after inspection.
Typical asphalt shingle replacements on a single-family home take 1–3 days. Larger homes, complex rooflines, specialty materials, or adverse weather can extend the timeline.
Yes. Our teams carry contractor licensing as required by local authorities and carry general liability and workers' compensation insurance. Proof of insurance and licensing is available upon request.
Yes. We offer manufacturer warranties on materials and workmanship warranties on installations. Warranty terms vary by product and project, and we provide written warranty details with every estimate.
We can obtain required local permits and coordinate municipal inspections as part of the project. If you prefer to handle permits yourself we can provide documentation to assist.
You can schedule an inspection or estimate by using the contact form on the landing page or by calling the phone number displayed there. Appointments are typically available within a few business days, sooner when possible.